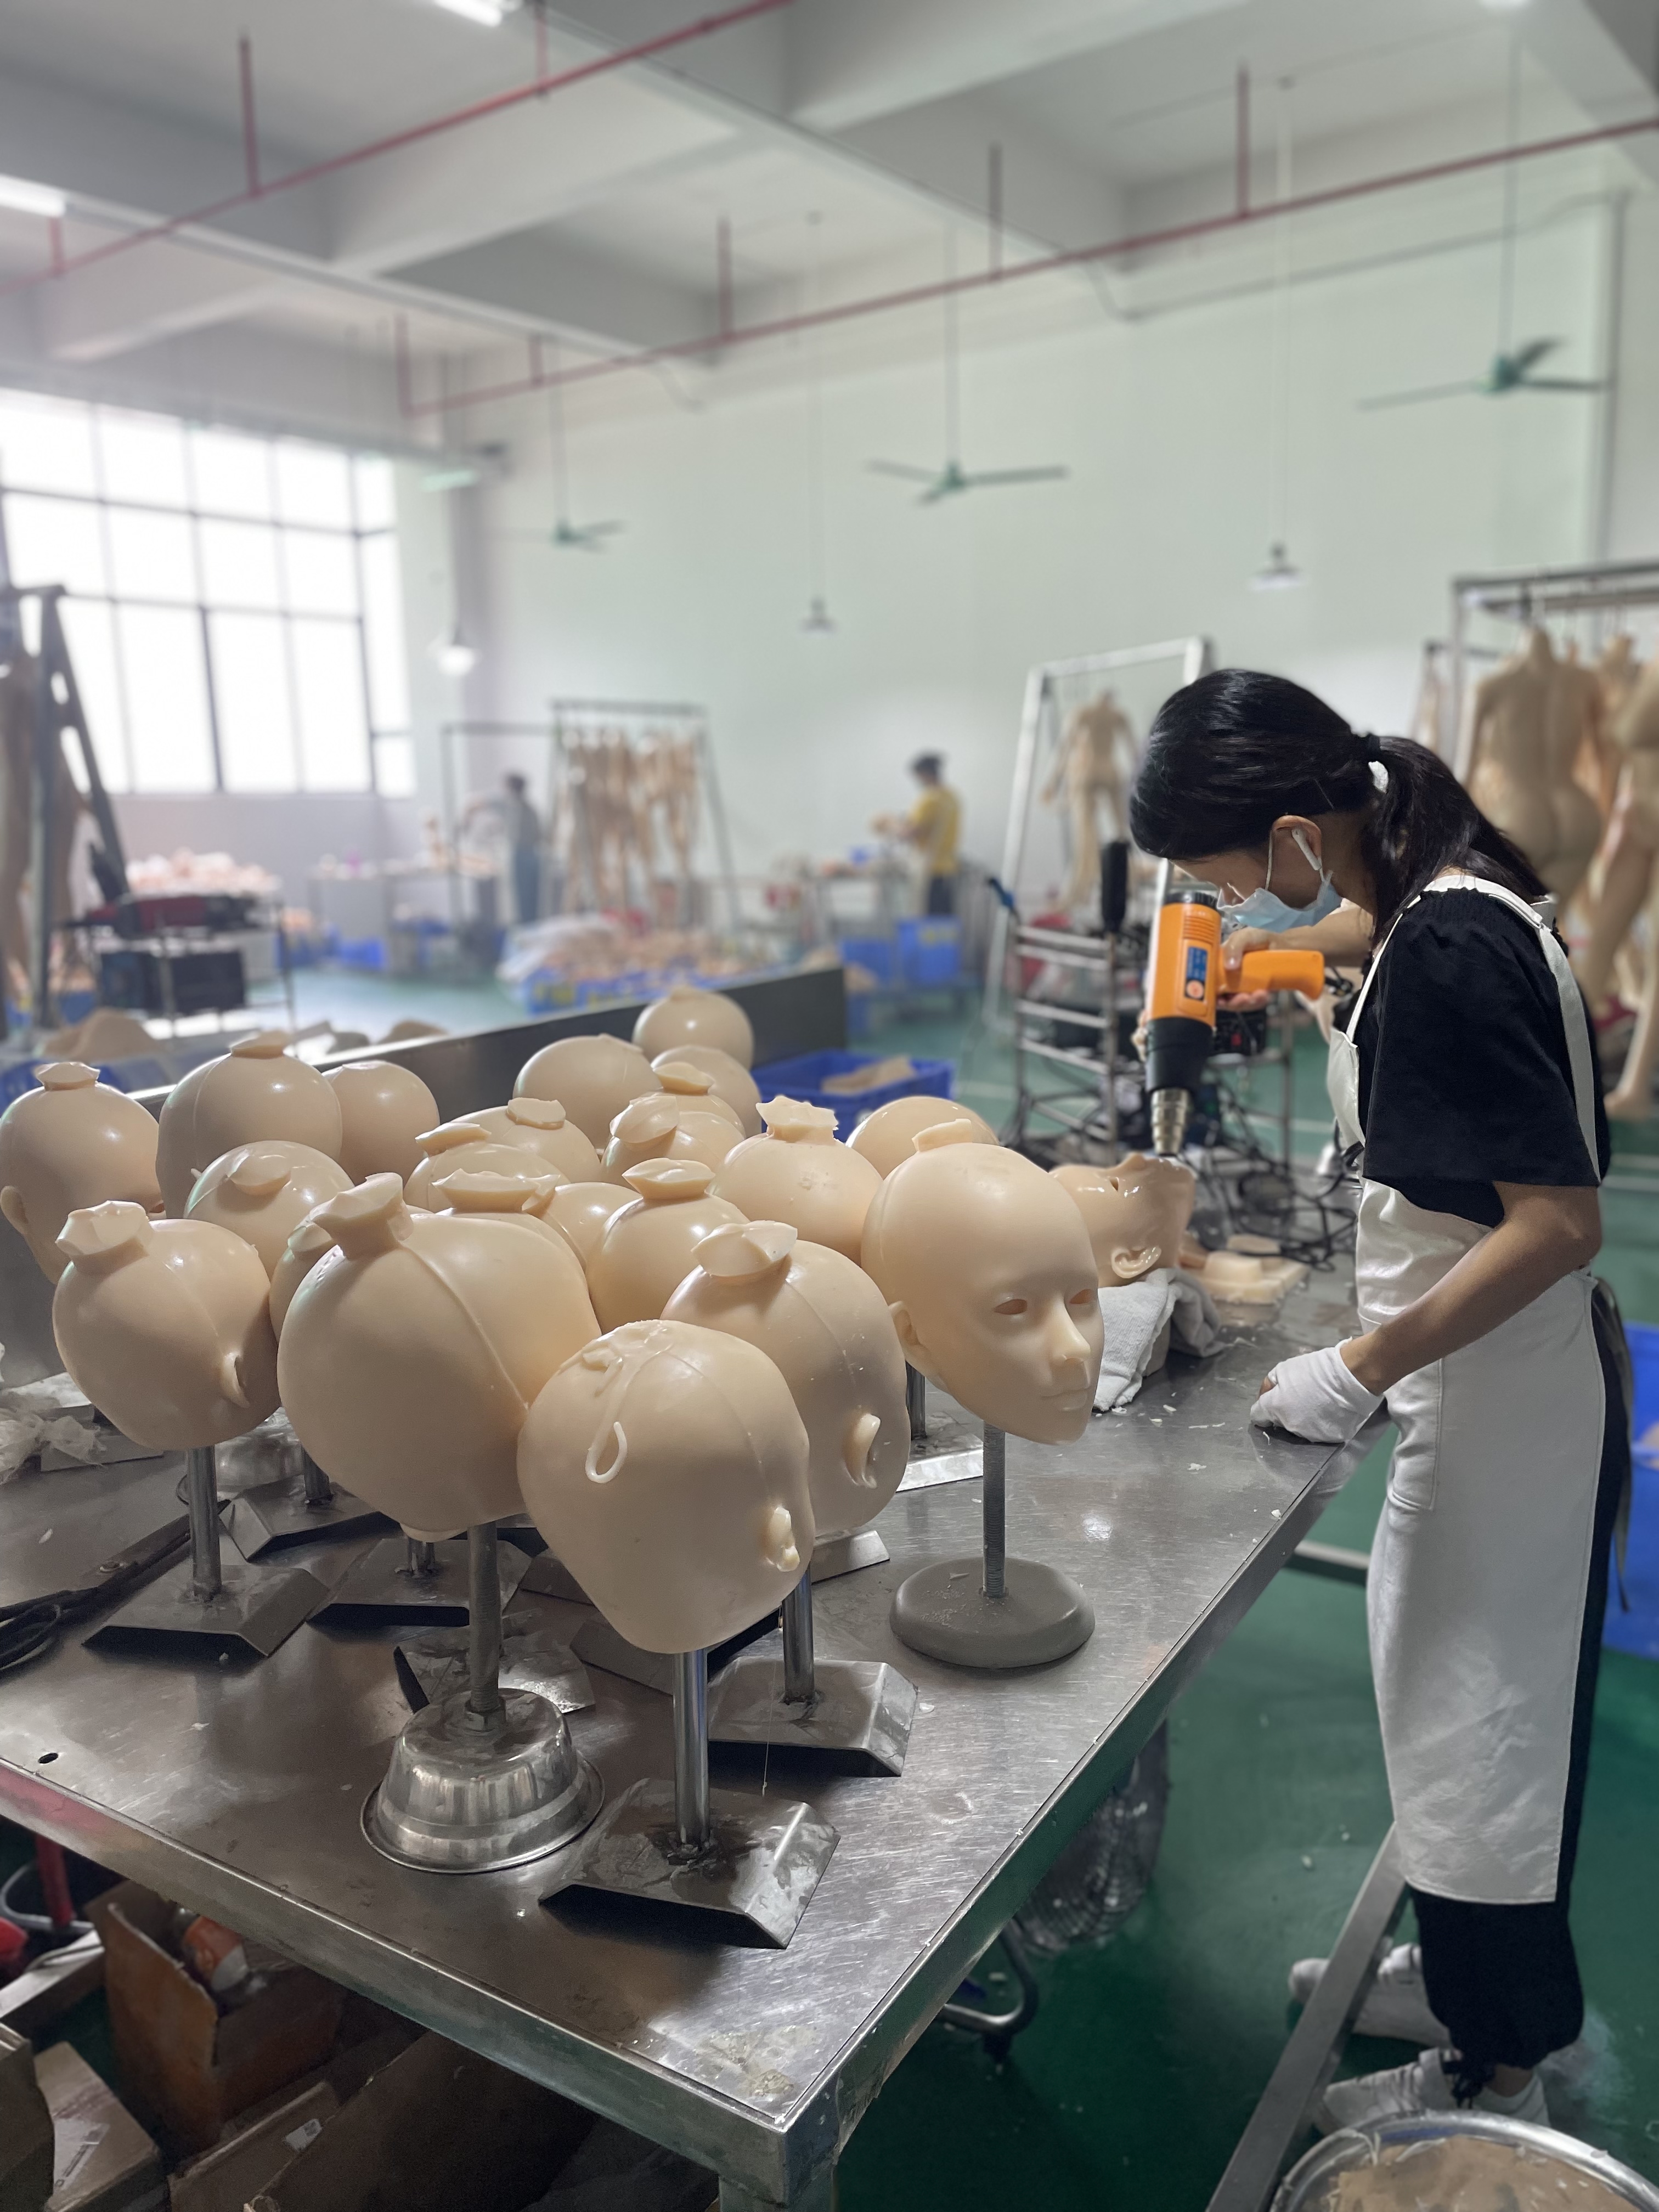
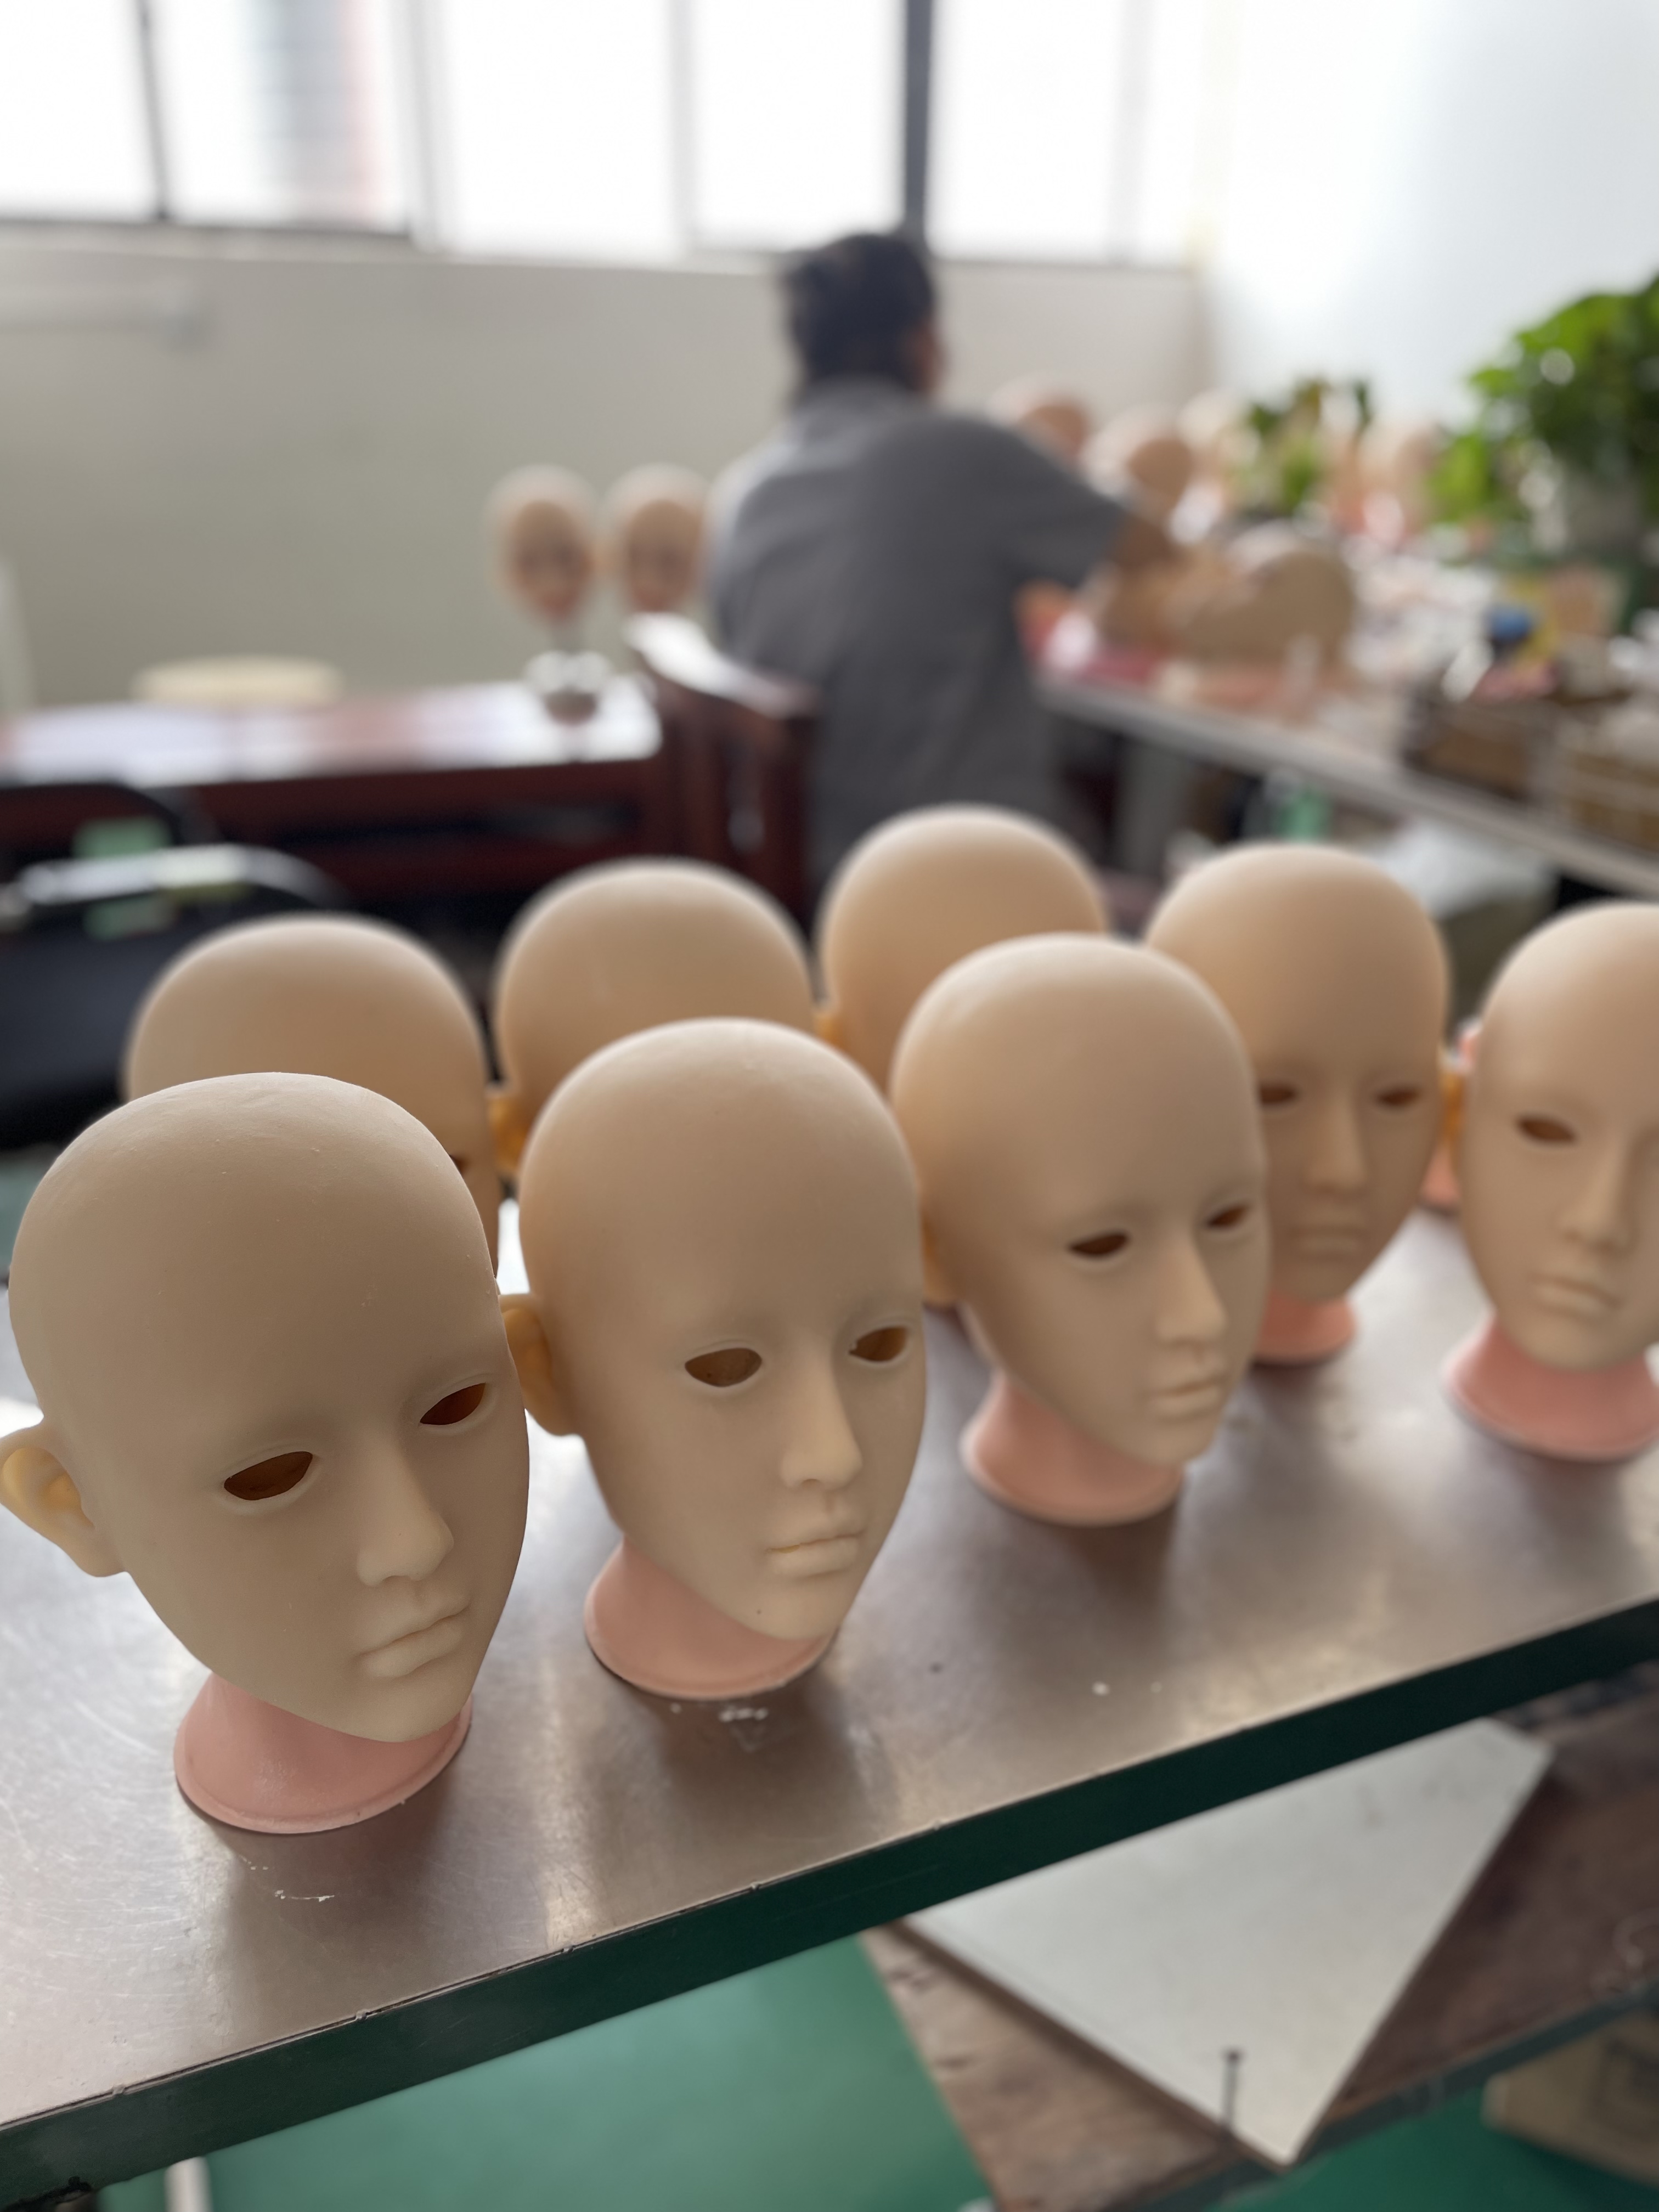
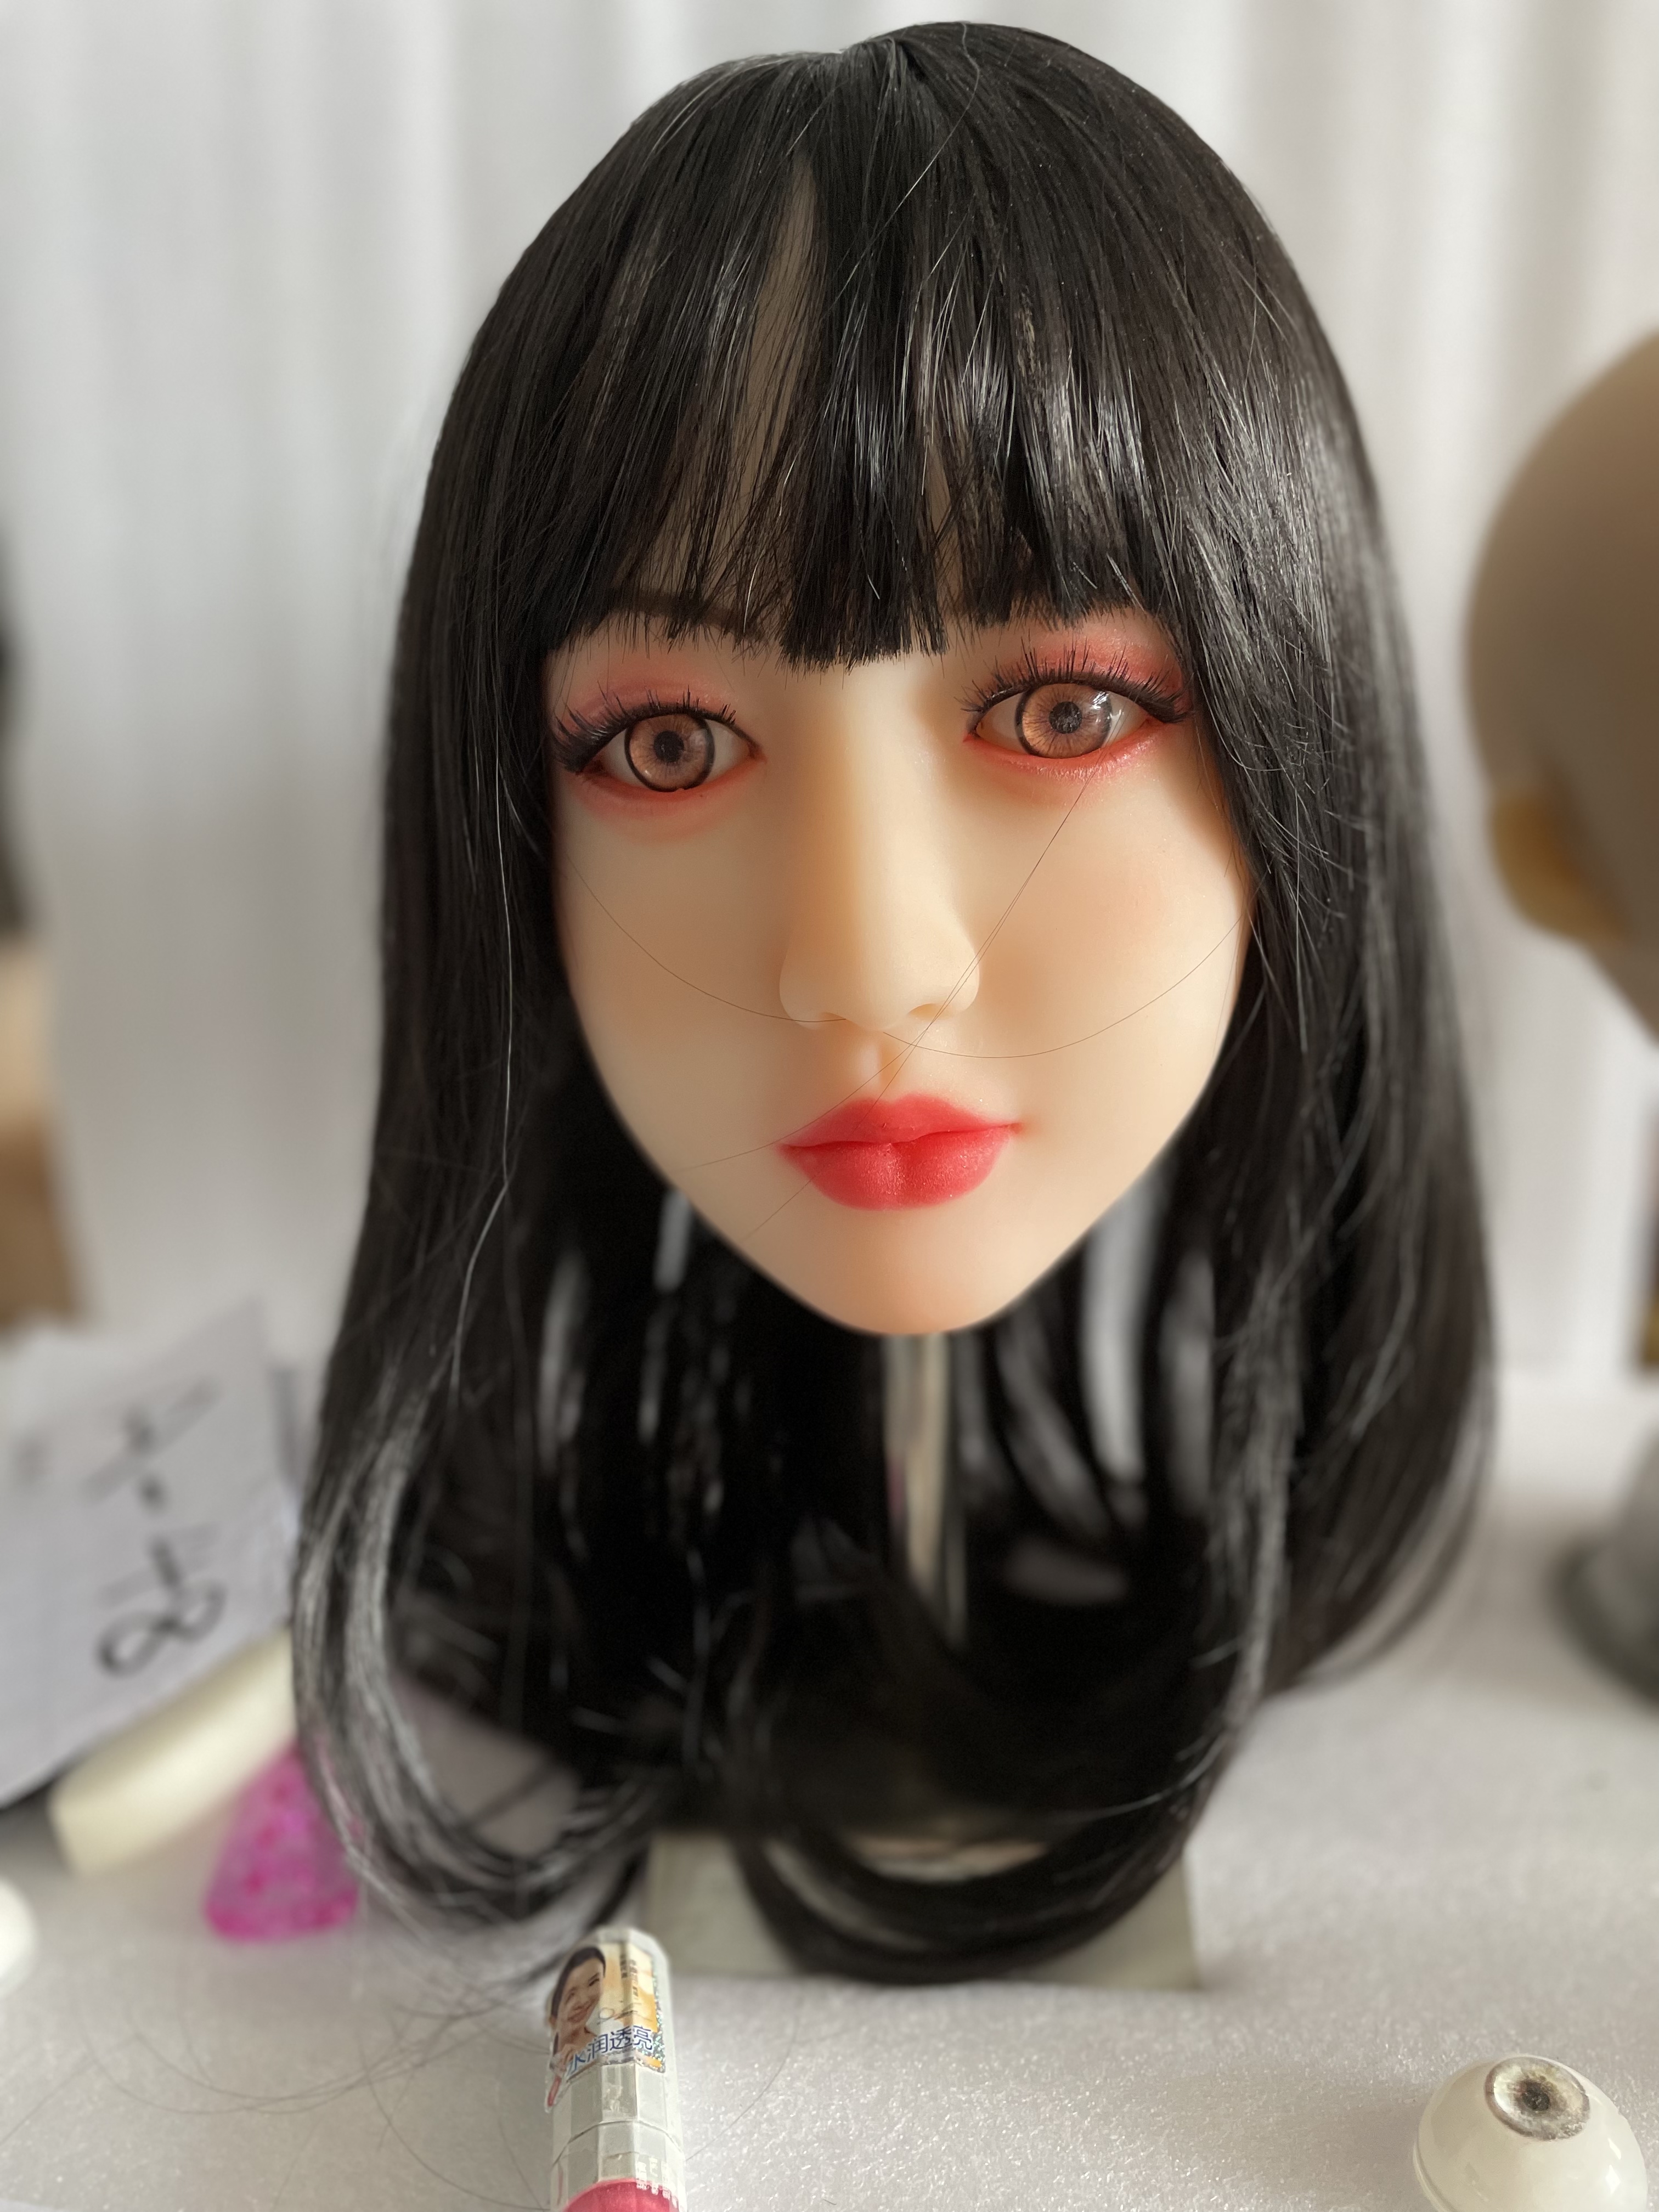
There are many all-silicone adult toys on the Chinese adult product wholesale market, but whether they are made of platinum silicone or not, we need to put a big question mark. In order to ensure the safety of silicone dolls, we can actually DIY silicone dolls by ourselves. The resulting silicone products are cheap and safe. Materials: baby head mannequin, clay, silicone mold making, platinum silicone, resin, curing agent and accessories.
Silicone doll
Prepare materials
Tools: utility knife, dyeing pen, needle and thread, electric blower, gauze.
Release Agent: Vaseline.
Auxiliary: Silicone glue, color contact lenses, artificial eyelashes, wigs, manicures
Doll head part mold making process
Step forward: Make a parting line with clay and run it around the model.
Tip: You can use ordinary sludge or carved sludge. The carved oil sludge can be wrapped with clinker tape, placed in hot water to soften, and taken out for use. It can also be softened with an electric blower. As shown in the figure, the outer circle of khaki is the dividing line of the model. After making one side of the model, make the other side, so that we can easily install and disassemble it when injecting platinum silicone in the later stage.
Step 2: Fully mix the platinum silica gel with high viscosity in a ratio of 1:1 and stir.
Step 3: Apply a layer of Vaseline on the upper half of the face model that has been padded with oil, and then apply a layer of mixed platinum silicone.
Step 4: After the platinum silica gel is solidified, make a layer of plaster or resin outer mold. (If you use resin, you need to wear gloves, the resin hurts your hands)
Step 5: After making the effect of the upper half of the baby face mold. The same method should be done again for the lower part of the head, and the two sides of the mold should be combined to form a whole head mold.
Step 6: After the mold comes out, it is better to leave it for 24 hours. Apply mold release agent evenly on the inside of the mold, close the mold for the head part and fix it tightly, mix it with platinum silica gel with low viscosity in proportion, and pour it into the mold of the head. . It can be heated and cured, and the efficiency will be improved. Wait until it solidifies completely before removing it.
Step 7: Coloring: Once you are done successfully, you can start preparing to color the silicone head. The excess parts around the silicone can be carefully trimmed off with a utility knife. The eyes can be dug out first with a utility knife to reserve the position of the pupils. The mouth can be perforated as needed. It is also possible to reserve an abrasive tool with a hole in the mouth before injecting silicone.
Step 8: In order to be beautiful, we also need to make hair. The hair can be sewn into the wig, or you can buy a head cover and glue it on with AB glue. In this way, the head of the beautiful finished beauty silicone doll is completed.
Next comes the body parts.
Here I will explain in detail the production process of Japanese doll manufacturers
Step forward: Find a beautiful model to carve a mold. This process is the work of the carver, so I won’t give a detailed introduction.
Step 2: After carving the mold seed, pad the fine carving oil, lay the mold seed flat, and select the mold line, taking the side of the body as the mold line. Make a sled (i.e. make a raised block) on the sludge. Prevent the back mold from sliding.
The third part: apply mold release agent on the upper part, brush platinum silicone with high viscosity suitable for brushing, and brush three layers. After the glue is solidified, make a layer of FRP outer mold, and you can also make three layers, and each layer can be put on gauze to increase a tear resistance. That’s it, the top half of the mold is ready.
Step 4: Flip it over and make the mold for the bottom half. Similarly, apply mold release agent, stir well with high viscosity brush mold silicone such as Y830, and then use a brush to brush the mold seed. Remember, the second sled must be done well, and it must be done around the mold line, each with a certain distance.
Step 5: After the silicone mold of the lower part is finished, start to make the outer mold of resin glass fiber reinforced plastic. The method is the same as before. Brush on three layers. Then the sharding model is ready. Use a power drill to drill a suitable hole at the edge and make a screw hole.
The picture below is after the mold is closed, pay attention to the screw holes.
Step 6: The upper and lower molds are finished, and the next step is to start the real body. As shown below, fix the body mold
Step 7: Use a hook to hang a pair of skeletons and place them in the mold of the body. As shown below, of course this is the finished product. for reference only
Step 8: After the skeleton is placed, stir the 0 degree silica gel according to the proportion, and pour the silica gel from the neck interface to solidify completely. Unscrew the screw and remove the silicone body. Repair and remove die line trim
Step 9: Connect the body and head together. It’s done, it’s up to the makeup artist in the later stage.
Post time: Feb-17-2022


